
Managing Your RV Holding Tanks Doesn’t Have To Be Hard
This article contains affiliate links.
RV tanks are not the most glamorous part of RV life, however, they are a necessary and realistic part of RV ownership. These 8 tips to keep your grey and black RV tanks clean provide simple preventative solutions along with maintenance reminders, to keep your tanks clog-free and flowing smoothly.
But before we get started, let’s define a few common terms:
RV Black Tank: Where all toilet waste is stored.
RV Grey Tank: Where all liquid waste from the bathroom sink and shower are stored.
Galley Tank: Where all liquid waste from the kitchen sink is stored (on some RVs, this is combined with the grey tank.) For the purpose of this article, when we use the term “grey tank,” we will be referring to liquid waste from both the kitchen and the bathroom sink and shower.
10 Tips To Keep Your Grey and Black RV Tanks Clean
1. Use 1-PLY toilet paper
You’ll hear many people tell you you need RV-specific toilet paper, but we find that to be a bit of a marketing gimmick. What you need is toilet paper that breaks down quickly, and many 1-ply toilet paper brands that are septic-safe do just that . We are partial to the SCOTT brand of TP, or a generic equivalent like Up and Up from Target.
You can watch our reel showing how 1-PLY TP breaks down. Now, there is no harm in using RV-Specific TP, but you’ll pay more for it, and in seven years of RVing, we’ve never had the dreaded poop pyramid using a 1-PLY brand like SCOTT.
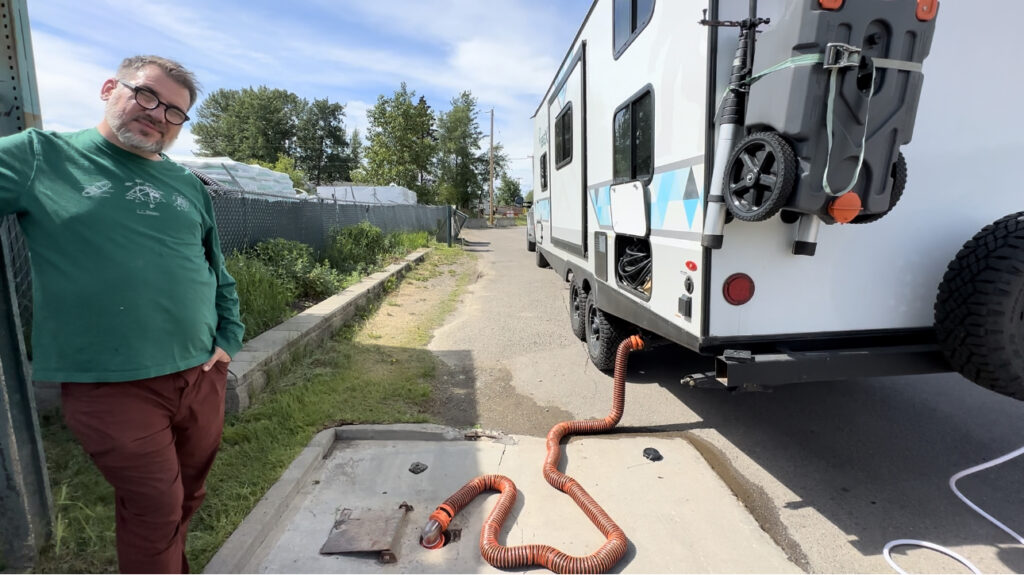
2. Flush the Black Tank Regularly
After you empty your black tank, flush it thoroughly until the water runs clear. Most RVs come with a built-in black tank flush system designed to help keep your black tank as clean as possible. If your RV doesn’t have this option, you can use a tank rinser that connects to your sewer outlet or a wand designed to be inserted through the toilet to spray water inside the tank. Once the tank has been flushed, add a decent amount of fresh water to prevent drying and smells.
BONUS TIP: Use a clear elbow connector when dumping. A clear elbow lets you see when the water runs clear during a flush. Clear water means the tank is clean.
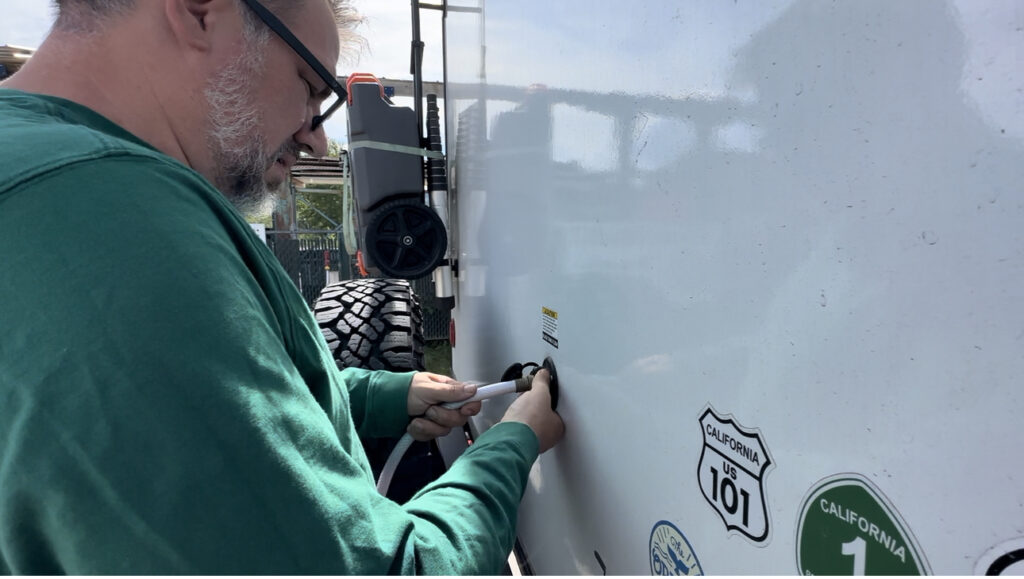
3. Use a Quality Tank Treatment After Every Tank Flush
Tank chemicals help to break down waste and prevent those dreaded black tank odors. There are several out there from tablet form to liquid form.
For liquid, we are partial to Matt’s RV Reviews Liquified Toilet Tank Treatment.
For Tablets, we like CAMCO or Matt’s RV Reviews Liquified Toilet Tank Treatment.
4. Use Plenty of Water When Flushing
When flushing, the toilet, always use a good amount of water to dilute waste and help prevent clogs. Too little water can lead to a very unpleasant buildup of solid waste, which we referenced above and define as a “poop pyramid” – and yes, it’s as gross as it sounds.
BONUS TIP: Using adequate amounts of water isn’t always possible when boondocking. We recommend purchasing a diaper genie, like this one from Ubbi, and putting all paper products in the diaper genie. This is how we successfully boondocked the majority of our way from Baja to Alaska with a 30-gallon black tank and 5 people. Doing this also cuts down on black tank odors. You don’t have to put the grossest toilet paper in it, but putting the bulk in allows you to get away with using less water in your black tank.
5. Keep Your Tank Valves Closed
To ensure stray food particles or that dreaded pyramid doesn’t happen, it’s important to keep your RV holding tanks closed until they are full and ready to be dumped. By leaving the tank closed and allowing the liquid to build up inside, you ensure that solids don’t get left behind or stick to any part of the tank. You can leave the grey tank open when connected to sewer from time to time (we do it when all 5 of us are showering), but never leave the black tank open. Ever.
BONUS TIP: We recommend always dumping tanks when they are at least two-thirds full. If it’s time to pack up and the tanks are still on the empty side, you’ll want to run water and reach that two-thirds level or higher. This might mean turning on the kitchen sink or just holding the pedal down on the toilet. It’s worth the extra time to ensure you don’t leave any solids behind.
6. No Grease, Hair, or Food in the Grey Tanks
Scrape all food particles into the trash, keep a jar for cooking grease, and try not to let any hair go down the shower drain. These types of solids can create clogs and mess with the tank sensors. We recommend using mesh strainers in the kitchen and bathroom sinks, along with the shower drain.
7. Regularly Inspect and Maintain All RV Tank Seals and Valves
Make sure your tank seals are air-tight – this primarily means that your toilet is holding an inch or so of water. If the water is draining out, sewer gasses are getting in. The dump valves need to be lubricated from time to time – you do this by pouring a special lubricant down the toilet. Valves can leak if their seals degrade or if the operating cable gets stretched. These conditions should be repaired as soon as possible.
Bonus Tip: A secondary waste tank valve is one of our TOP items for any RVer. We like this one from Valterra and highly recommend you install one BEFORE you discover your tank valve has failed (because it will eventually fail). Installing a secondary backup ensures you can continue with your RV vacation and safely deal with the problem at home.
8. Empty Your RVs Black Tank Before the Grey
Let the nastiest waste go first. Emptying the black tank followed by the grey ensures that any black tank residue left in the hose gets swept away when you empty the grey. We particularly like to dump right after taking a warm shower to get lots of soapy water through.


